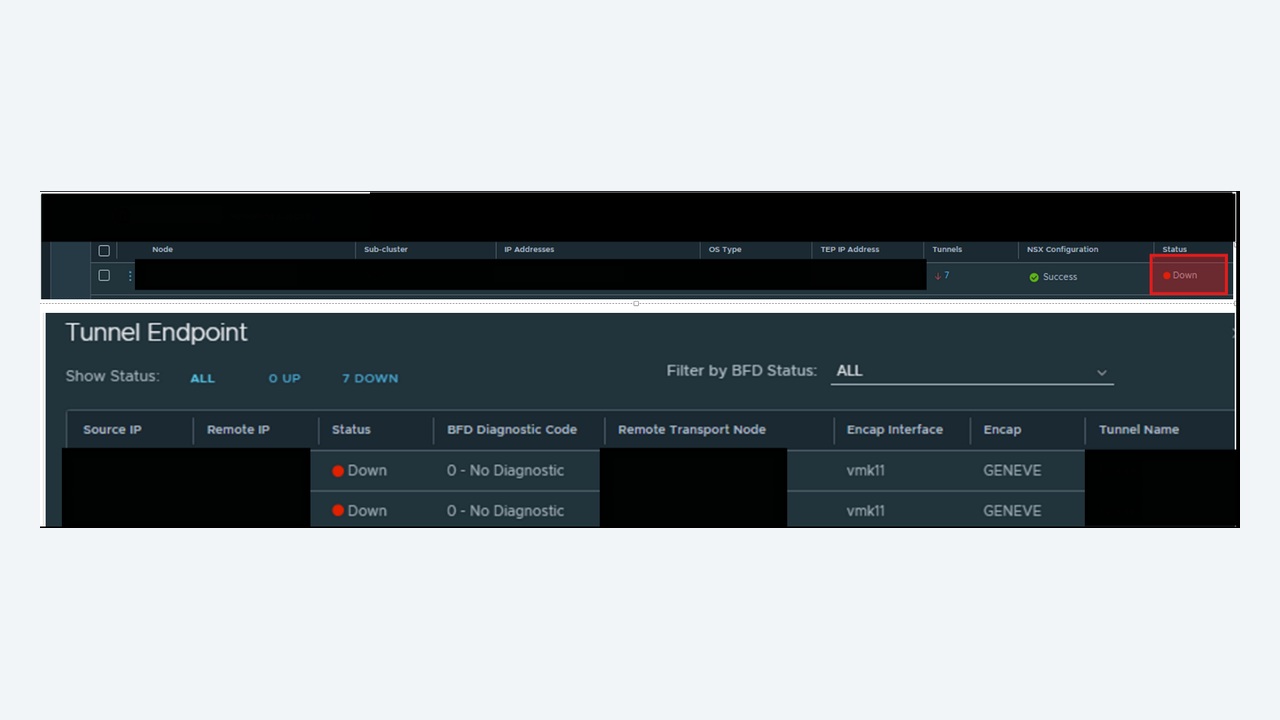
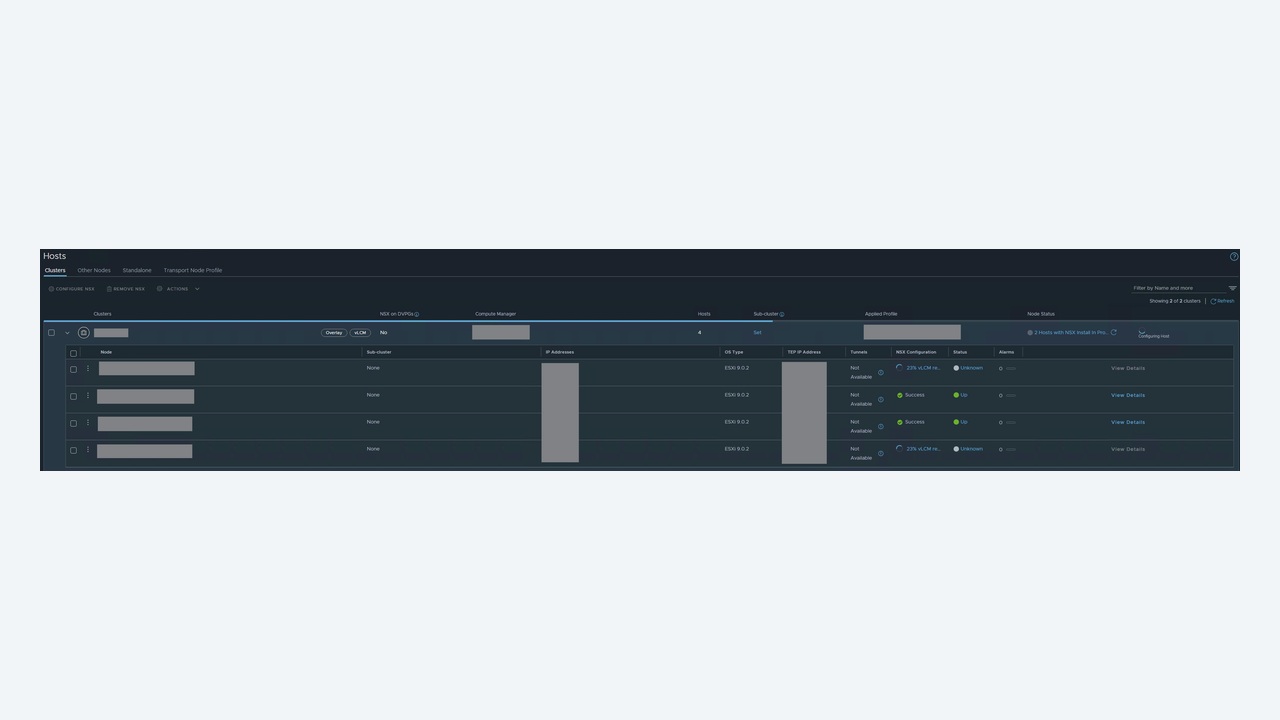
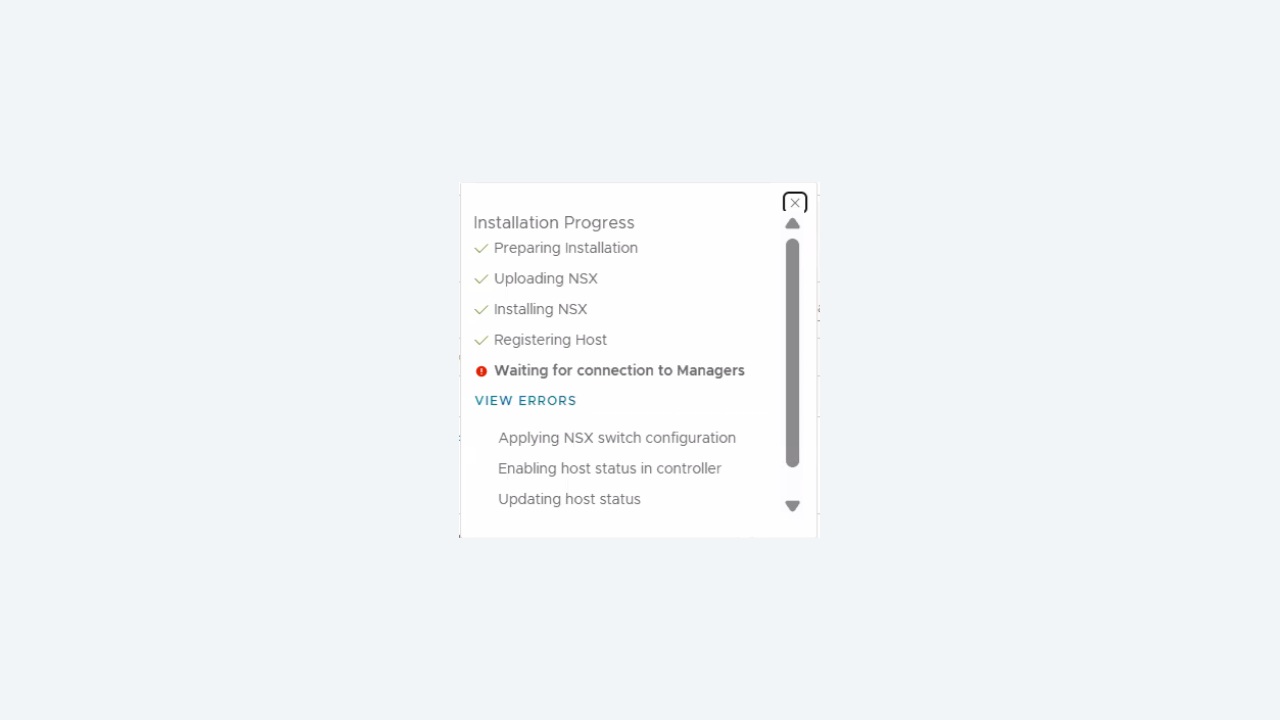
Host preparation is where NSX meets the hypervisor, and it is the stage most likely to fail in a real environment. The symptom is blunt: one or more ESXi hosts sit at Install Failed or Upgrade Failed in the fabric view, with an error that rarely names the real problem. This guide covers how NSX installs on a host, what the failure messages actually mean, and how to recover without rebuilding the host.
What happens during host preparation
When you prepare a cluster, NSX Manager pushes VIBs to each host through the vCenter-managed installation path, then starts the NSX agents and creates the host switch. Concretely the host needs:
- Reachability to NSX Manager on TCP 443 to download the VIBs.
- Control plane connectivity on TCP 1235.
- Enough free space in
/bootbankand/tmpfor the VIB payload. - A compatible ESXi build for the NSX version.
- Working certificate trust and correct time.
Step 1: read the pattern before the message
One host failed or all of them? That distinction is the fastest triage you can do.
| Pattern | Look at |
|---|---|
| All hosts in a cluster failed identically | Manager reachability, certificate, DNS, repository URL, compute manager registration |
| One host failed | That host's disk space, agent state, leftover VIBs, lockdown mode, ESXi build |
| Failure only on upgrade | Old VIB removal, host not in maintenance mode, DRS unable to evacuate VMs |
| Succeeds then goes down later | Time skew, certificate expiry, TEP addressing |
Step 2: check the obvious blockers on the host
df -h
vdf -h
esxcli software vib list | grep -i nsx
/etc/init.d/nsx-proxy status
esxcli network ip connection list | grep -E "443|1235"
Space is the most frequent single-host cause. A full /bootbank – often caused by old VIBs, core dumps or a locally stored ISO – will abort the install with a generic error. Clear it:
ls -lh /bootbank /altbootbank
esxcli system coredump file list
rm /scratch/downloads/*
Check DNS and time as well, since both break certificate validation:
esxcli network ip dns server list
nslookup nsx-manager.corp.local
esxcli system time get
esxcli system ntp get
Step 3: read the real logs
The UI error is a summary. The detail is on the host:
tail -f /var/log/esxupdate.log
tail -f /var/log/nsx-syslog.log
tail -f /var/log/vmkwarning.log
tail -f /var/log/vpxa.log
and on the manager:
/var/log/proton/nsxapi.log
/var/log/syslog
esxupdate.log names the exact VIB and the exact reason – dependency, signature, conflicting VIB or insufficient space. That is the line to put in the ticket.
Step 4: the common failures and their fixes
Cannot download the VIB
Test from the host: curl -k -v https://<manager>/repository/. If it times out, you have a firewall or routing problem on the management network, not an NSX defect. If it returns a certificate error, fix trust – often after a manager certificate replacement where the host still caches the old thumbprint.
Conflicting or orphaned VIBs
Hosts that once ran another version of NSX, or a third-party agent that owns the same module, will refuse the install. List and remove leftovers with the host in maintenance mode:
esxcli software vib list | grep -i -E "nsx|vsip|vdpi"
esxcli software vib remove -n nsx-esx-datapath
reboot
Then retry preparation from the UI with Resolve.
Host not in maintenance mode during upgrade
Upgrades that replace the datapath VIB require maintenance mode. If DRS cannot evacuate the host – a VM with a mounted ISO, a pinned VM, or insufficient cluster capacity – the upgrade coordinator stalls. Find the blocker in vCenter's task list, clear it, and resume. Never force the host into maintenance mode by powering off workloads without telling the application teams.
Lockdown mode and permissions
Strict lockdown mode can prevent the installation path from running. Temporarily set normal lockdown or exception-list the NSX service account for the duration of the change.
Stale host entry after a rebuild
If a host was rebuilt with the same name, NSX may hold a transport node object referencing the old identity. Remove the transport node configuration from the fabric, confirm the host is clean with esxcli software vib list, then re-prepare.
Step 5: recovering a half-installed host
When a host is in a partially installed state, resist the urge to rebuild it. The reliable sequence is:
- Put the host in maintenance mode and evacuate all VMs.
- In NSX, remove the transport node configuration and wait for it to complete.
- On the host, remove any remaining NSX VIBs and reboot.
- Verify
esxcli software vib list | grep -i nsxreturns nothing. - Confirm free space, DNS, NTP and manager reachability.
- Re-add the host as a transport node with the correct transport node profile.
Because the transport node profile applies at cluster level, check that the profile itself is right before re-preparing – an incorrect uplink profile or TEP pool will simply reproduce the failure on every retry.
Compatibility: check before you start, not after
Each NSX release supports a specific range of ESXi and vCenter builds. Upgrading ESXi ahead of NSX, or NSX ahead of vCenter, produces failures that look like install bugs. The supported order for a coordinated upgrade is normally NSX first, then vCenter, then ESXi – but always confirm against the interoperability matrix for your exact versions, and do it during planning rather than at 2 a.m. in the change window.
Pre-flight checklist for host preparation
| Item | Verification |
|---|---|
| ESXi build supported | Interoperability matrix for the target NSX version |
| Free space | vdf -h, df -h – bootbank and tmp with headroom |
| Manager reachable | curl -k https://<manager>/ from the host |
| DNS forward and reverse | nslookup both directions |
| Time in sync | esxcli system ntp get, same sources as vCenter |
| No leftover VIBs | esxcli software vib list | grep -i nsx |
| Cluster capacity | Enough headroom for rolling maintenance mode |
| Transport node profile | Uplink profile, TEP pool and transport zones correct |
Make the next one boring
Prepare one host manually before rolling a profile across a cluster; a single failure is far easier to diagnose than sixteen. Keep a maintenance window rule that no ESXi patching happens without checking NSX interoperability. Monitor bootbank usage as a first-class metric. And capture a support bundle from both the host and the manager before you start clearing VIBs – once you have cleaned up, the evidence you would need for a support case is gone.
Decoding the messages you will actually see
| Message | What it usually means | Action |
|---|---|---|
| Failed to install software on host | Generic wrapper – the real reason is in esxupdate.log | Read the host log before anything else |
| Unable to download NSX components, connection timed out | Host cannot reach the manager on 443 | Check management routing, firewall, DNS |
| Insufficient space / no space left on device | Full bootbank, tmp or scratch | Clear old VIBs, dumps and downloads |
| VIB conflicts with existing VIB | Leftover or third-party module | Remove in maintenance mode, reboot, retry |
| Host is not in maintenance mode | Datapath VIB replacement blocked | Clear the DRS evacuation blocker |
| Thumbprint mismatch / certificate error | Manager certificate changed or time skew | Refresh trust, fix NTP |
| Transport node in partial success state | VIBs installed, configuration incomplete | Resolve from the UI, then verify vmk and host switch |
Treat the UI message as a category, not a diagnosis. The host log tells you the truth in one line, and quoting that line in the ticket saves everyone a round trip.
Verifying a successful preparation
“Green in the UI” is a weak test. A properly prepared transport node passes all of these:
esxcli software vib list | grep -i nsx
esxcfg-vmknic -l | grep vxlan
esxcli network ip connection list | grep 1235
net-vdl2 -l
/etc/init.d/nsx-proxy status
You want the NSX VIBs present at the expected version, one or more TEP vmk interfaces with addresses from the right pool, an established control plane connection, the host switch present with the expected uplinks, and the proxy service running. Then prove the data path with a 1572-byte vmkping ++netstack=vxlan to a peer host before you place production workloads on it. Preparing a host and immediately migrating VMs onto it without this check is how MTU problems reach users.
Rolling a cluster without drama
For cluster-wide preparation or upgrade, sequence the work: confirm DRS is fully automated and the cluster has capacity to lose a host; prepare or upgrade one host and validate it completely; then let the coordinator proceed through the rest with a serial rather than parallel setting for the first run. Parallel upgrades are faster but concentrate risk, and a fault that hits four hosts at once is much harder to diagnose than the same fault on one.
Watch the upgrade coordinator's per-host progress and be ready to pause. If a host stalls, pausing the plan, fixing the single host and resuming is almost always faster than cancelling and restarting the whole run.
Building failures out of the process
Most host preparation incidents are environmental, which means they are preventable. Add bootbank and scratch utilisation to host monitoring. Make DNS forward and reverse records for hosts and managers part of the build checklist rather than an assumption. Standardise NTP sources across ESXi, vCenter and NSX. Keep an interoperability check as a mandatory gate on any ESXi patch plan. And keep one recently rebuilt host as a canary for new NSX versions, so the first preparation of a new release happens on a host nobody is relying on.